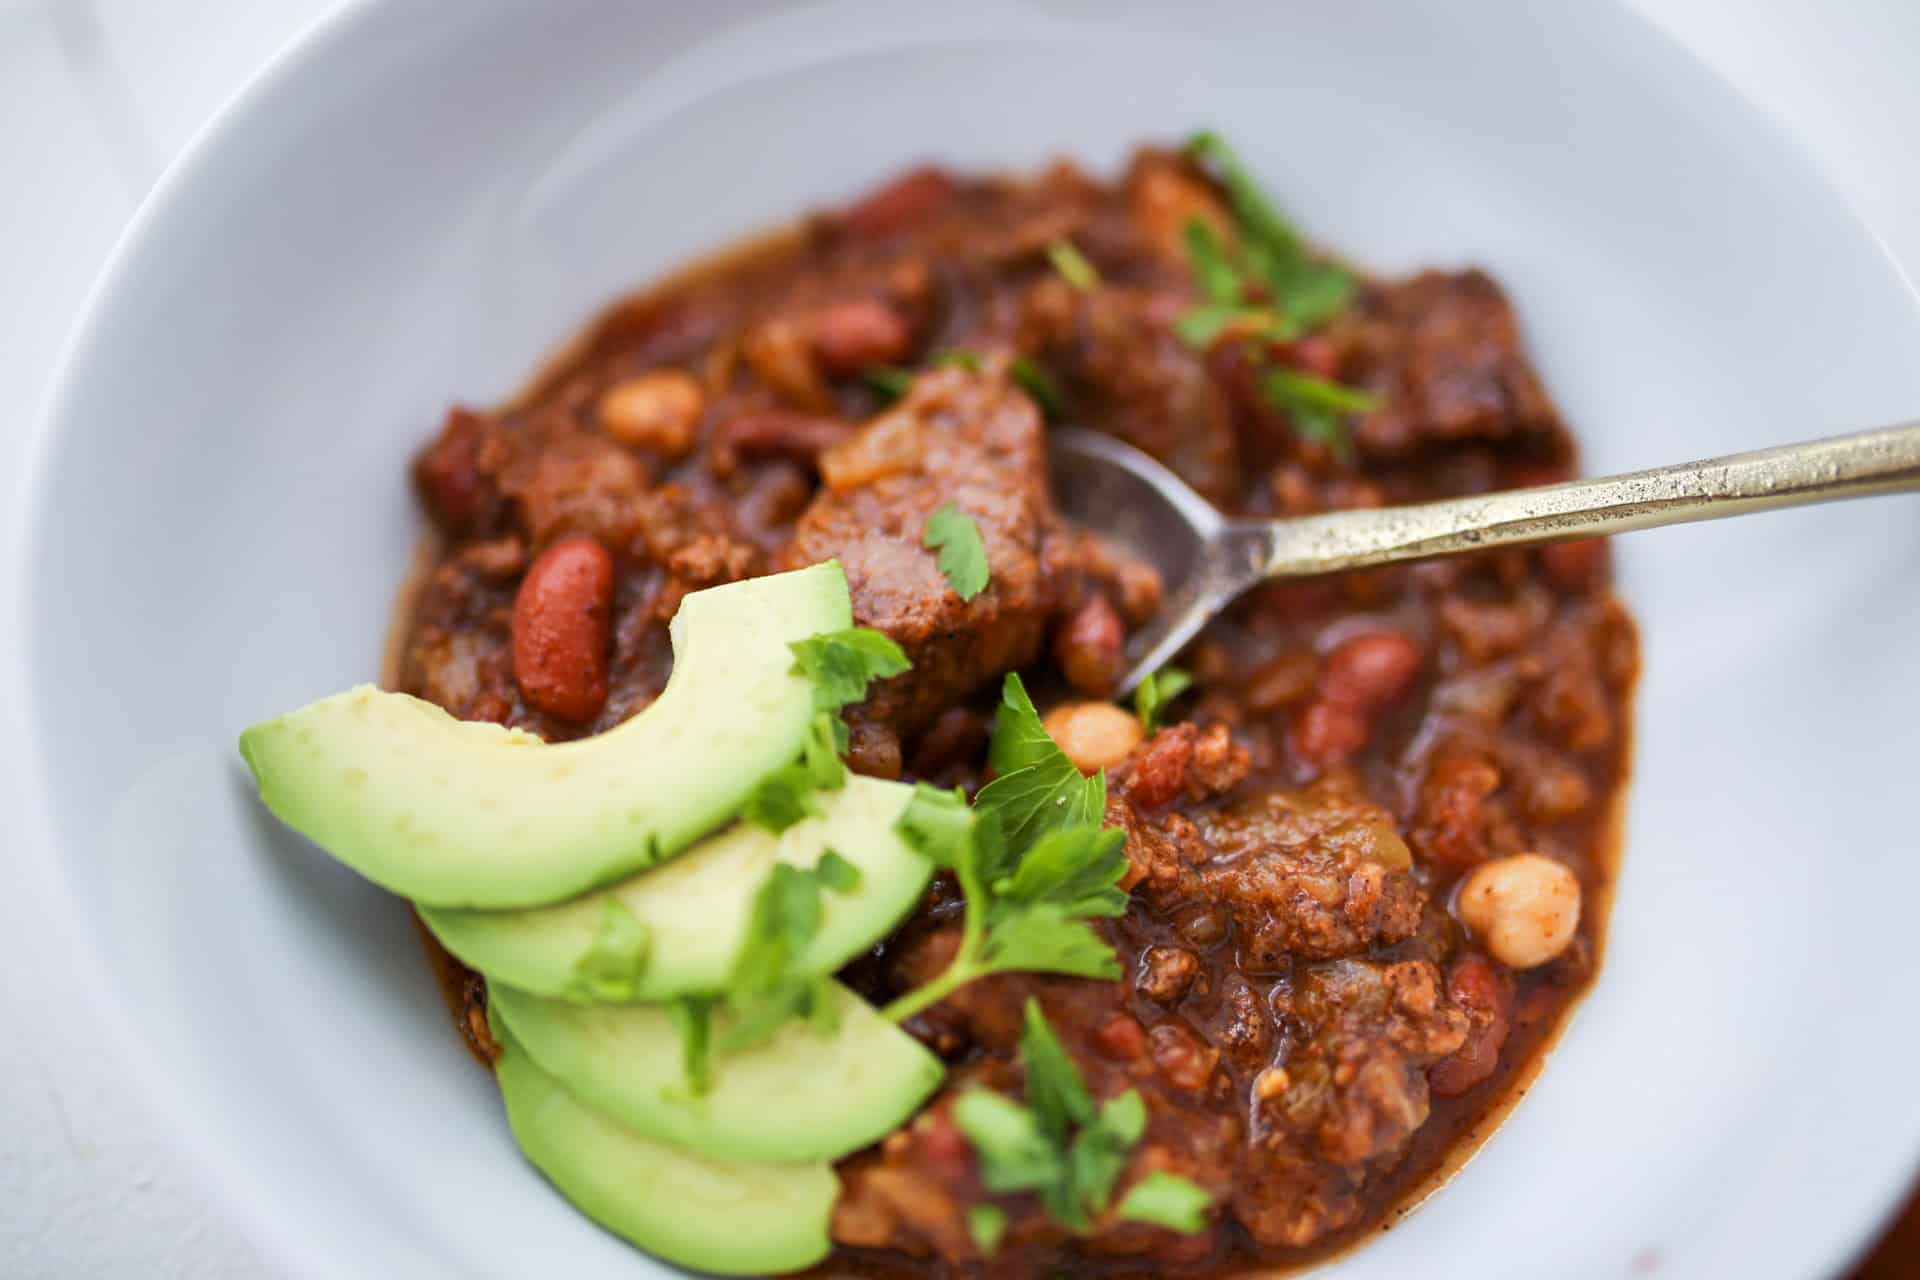
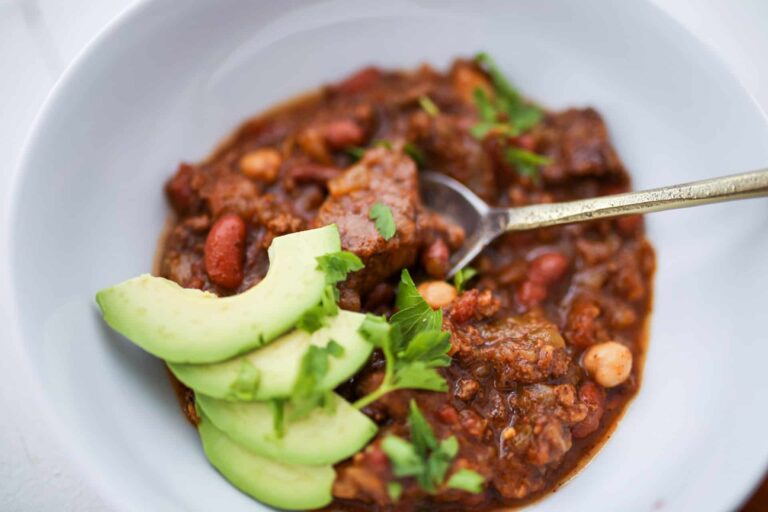
This hearty, filling Chili con Carne meal is the best recipe for cold winter weather. Perfect for weeknight meals, packed lunches, game days, and more, it’s one recipe that will have your family coming back for seconds!
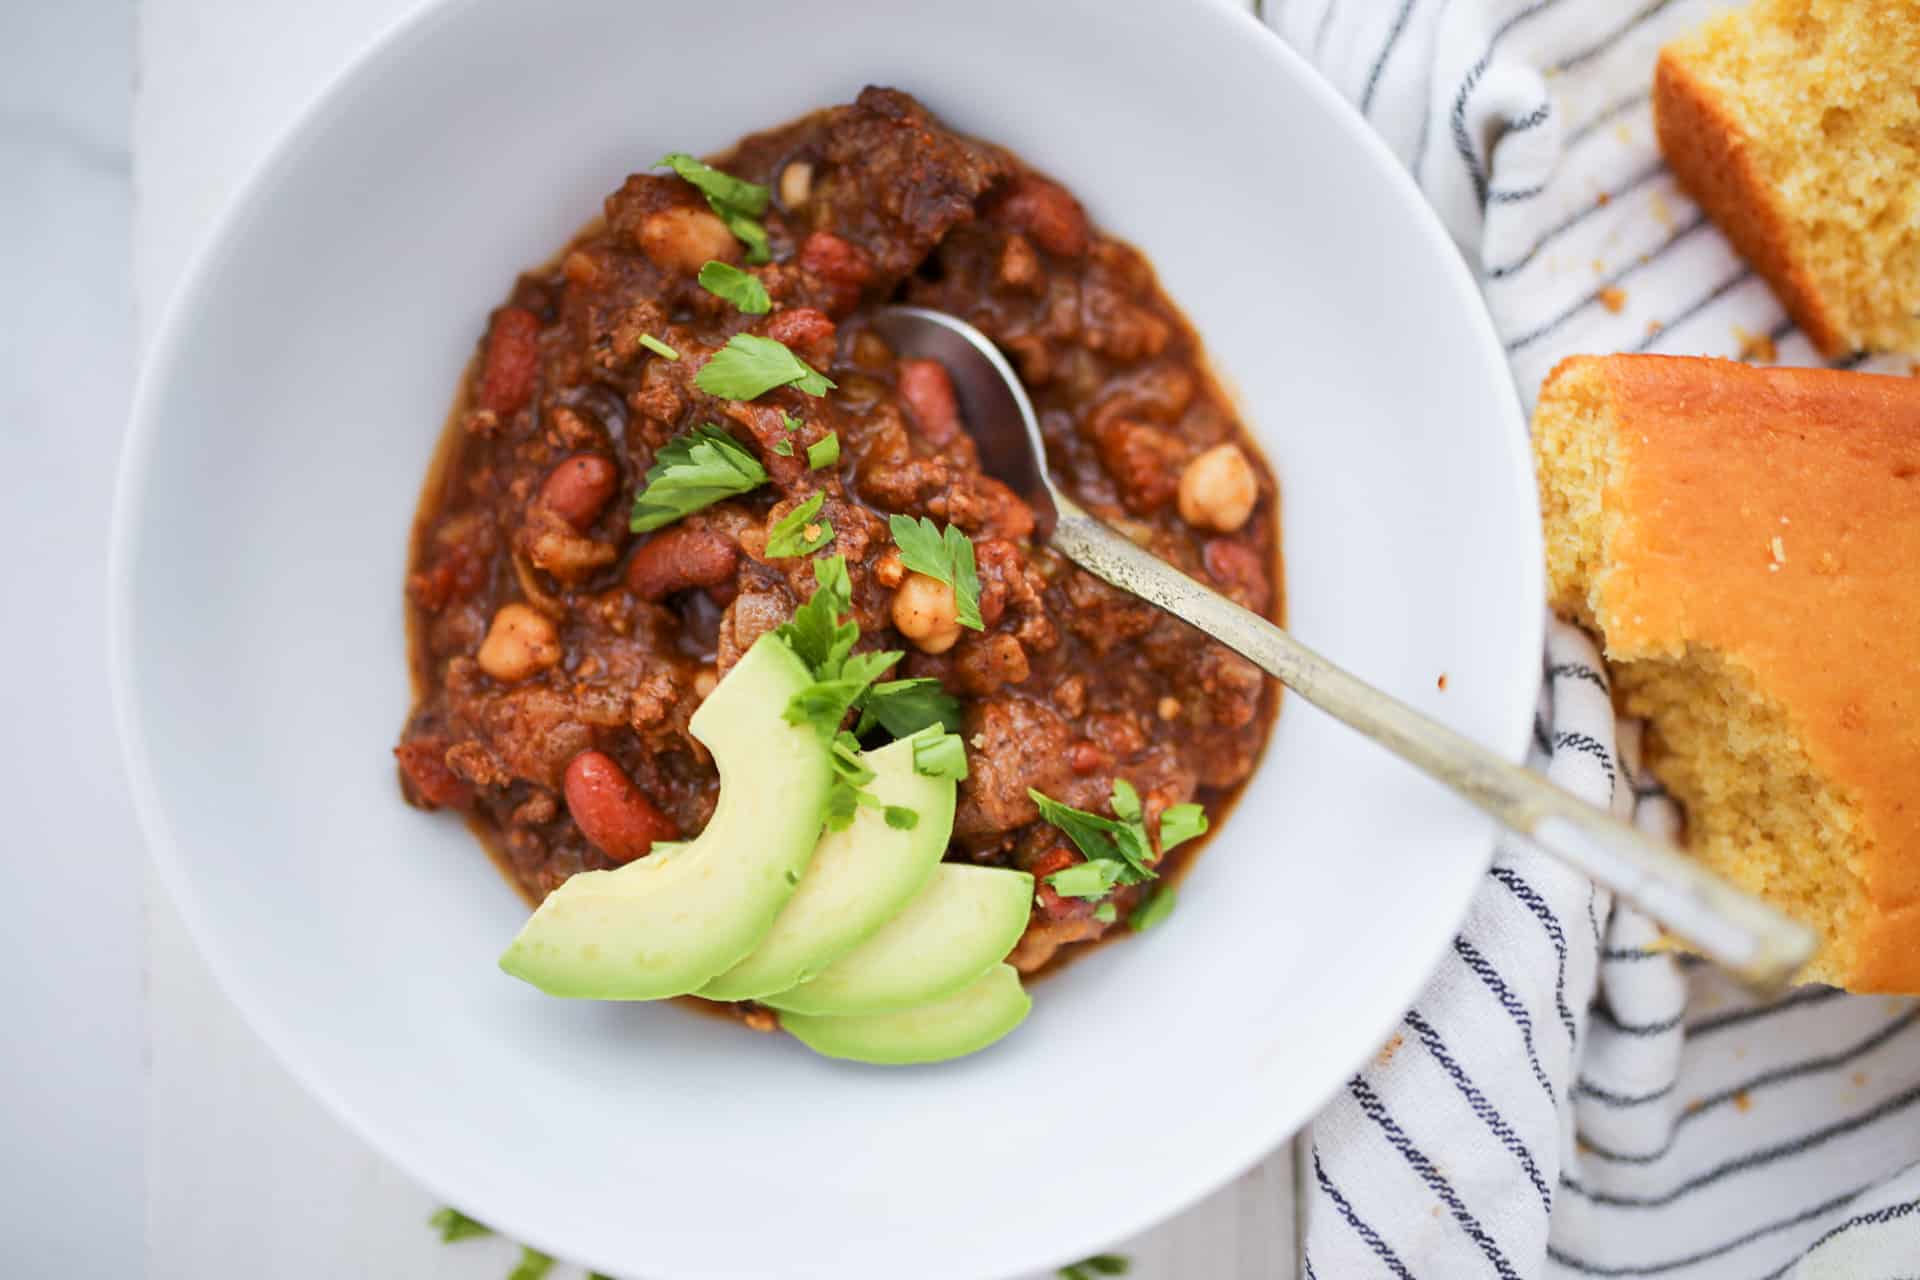
In my house, chili is a wintertime staple. Packed with filling veggies and hearty meats, chili is a cost-effective way to feed your whole family and have plenty of leftovers for the week ahead. Pair it with crumbly cornbread or my Perfect Popovers for the ultimate comfort food!
Personally, I love chili because of how easy and versatile it is to make. Oftentimes, I find people get too intimidated to make chili meals due to all the variations available. For example, some recipes are made with noodles while others are made without. Meanwhile, others are made with beef, but versions are made with turkey. With a million other differences out there, it seems as if everyone has their own perfect method, and it’s kind of true.
Here in the Midwest, we take chili making very seriously, and the noodle debate is huge (Don’t even get me started). Yet, the beauty of all this variation is that you can’t mess this up. No, really, you cannot mess chili up.
However, in an attempt to make an easily adaptable, kid-friendly recipe, my husband, Roger, has concocted his perfect version of Chili con Carne (chili with meat). Made with unique ingredients not commonly seen in chili recipes such as coconut aminos and ghee, this recipe can be altered to fit any dietary need including paleo, whole30, and even vegetarian.
To start, preheat your oven to 300 degrees Fahrenheit. While the oven is heating, pat the beef pieces dry with a paper towel, and season them with a pinch of salt before setting the meat aside.
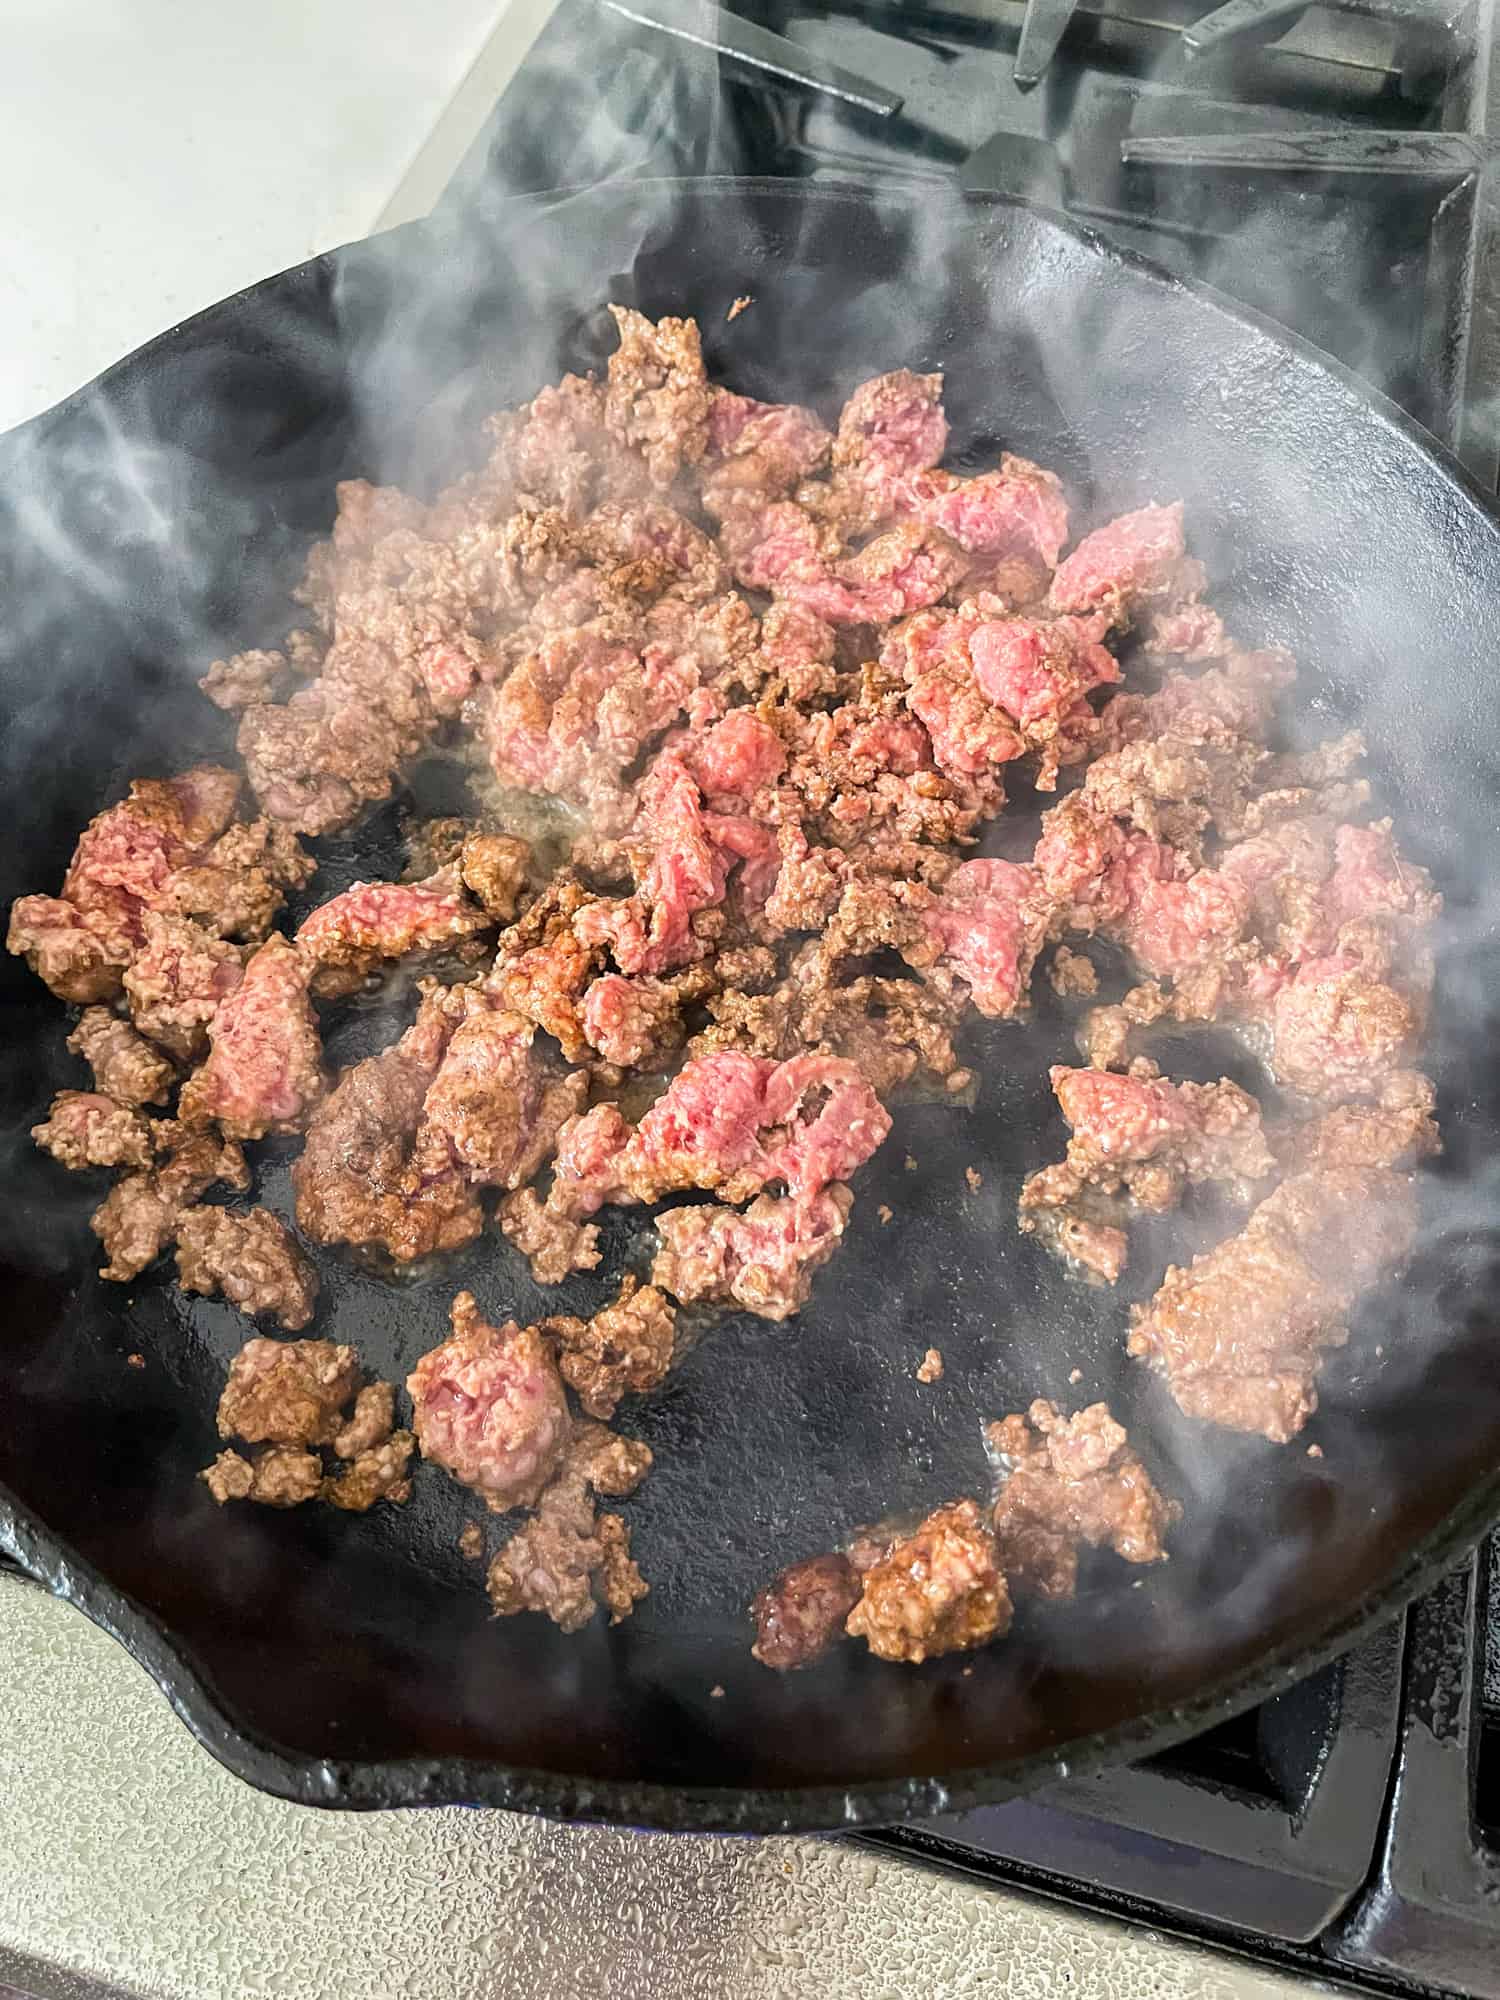
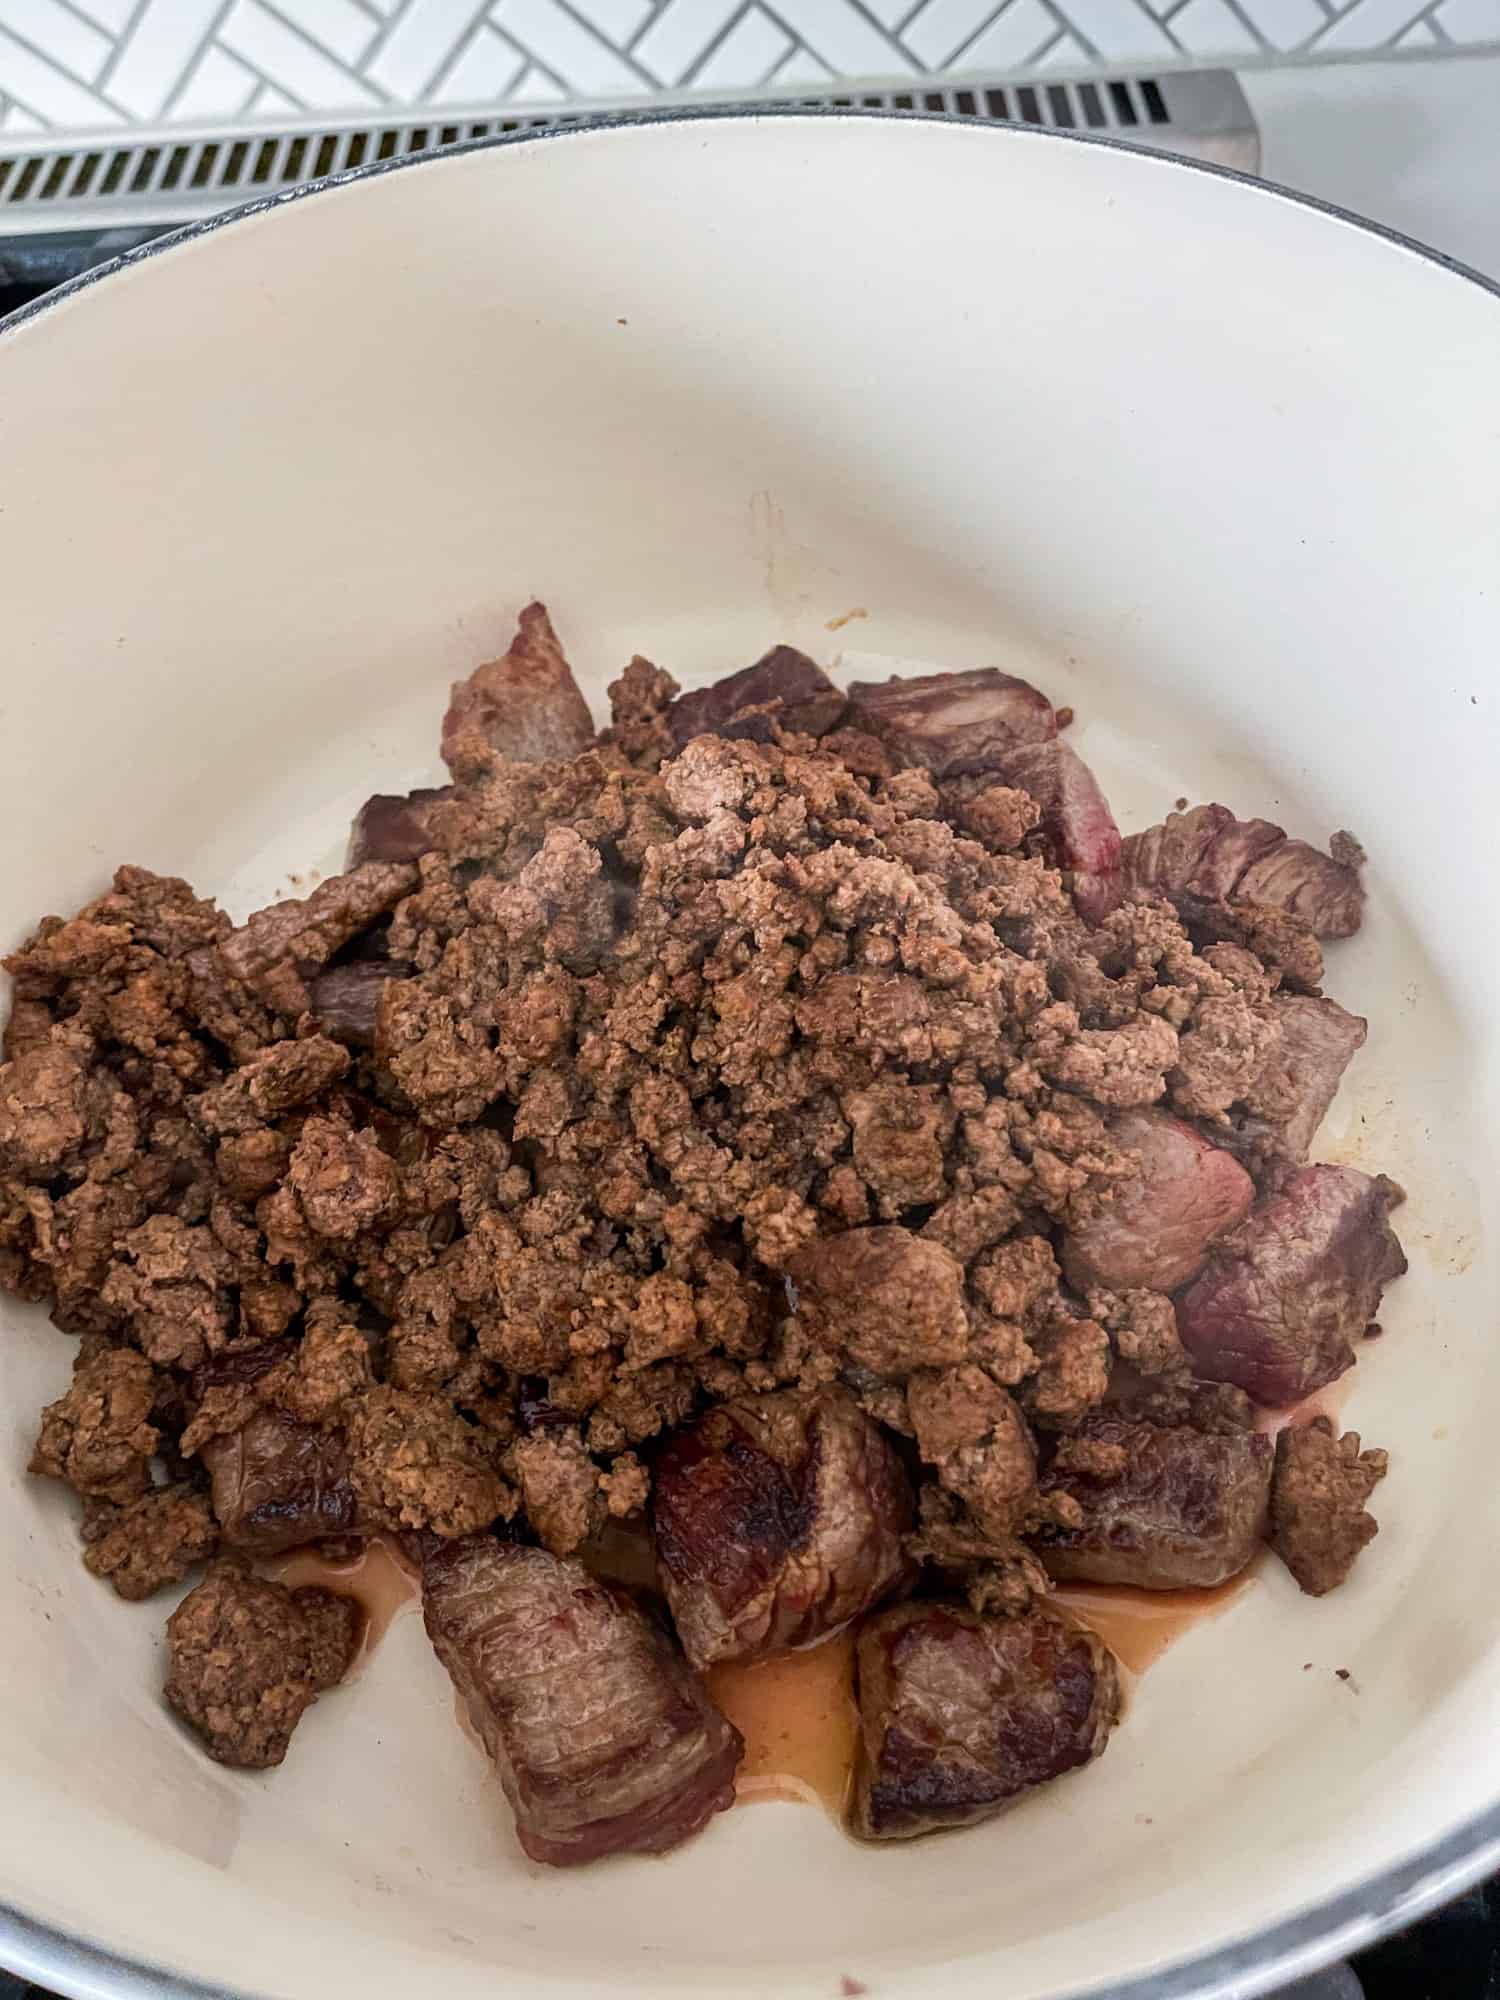
Then, heat a large heavy-bottom skillet over medium-high heat, add half the ghee and olive oil, and sauté the beef pieces in batches until well browned. Transfer the meat to a large dutch oven, and add your ground beef to the skillet. Cook the meat over medium-high heat, breaking it into lumps, until slightly browned before adding it to the pot with the beef pieces.
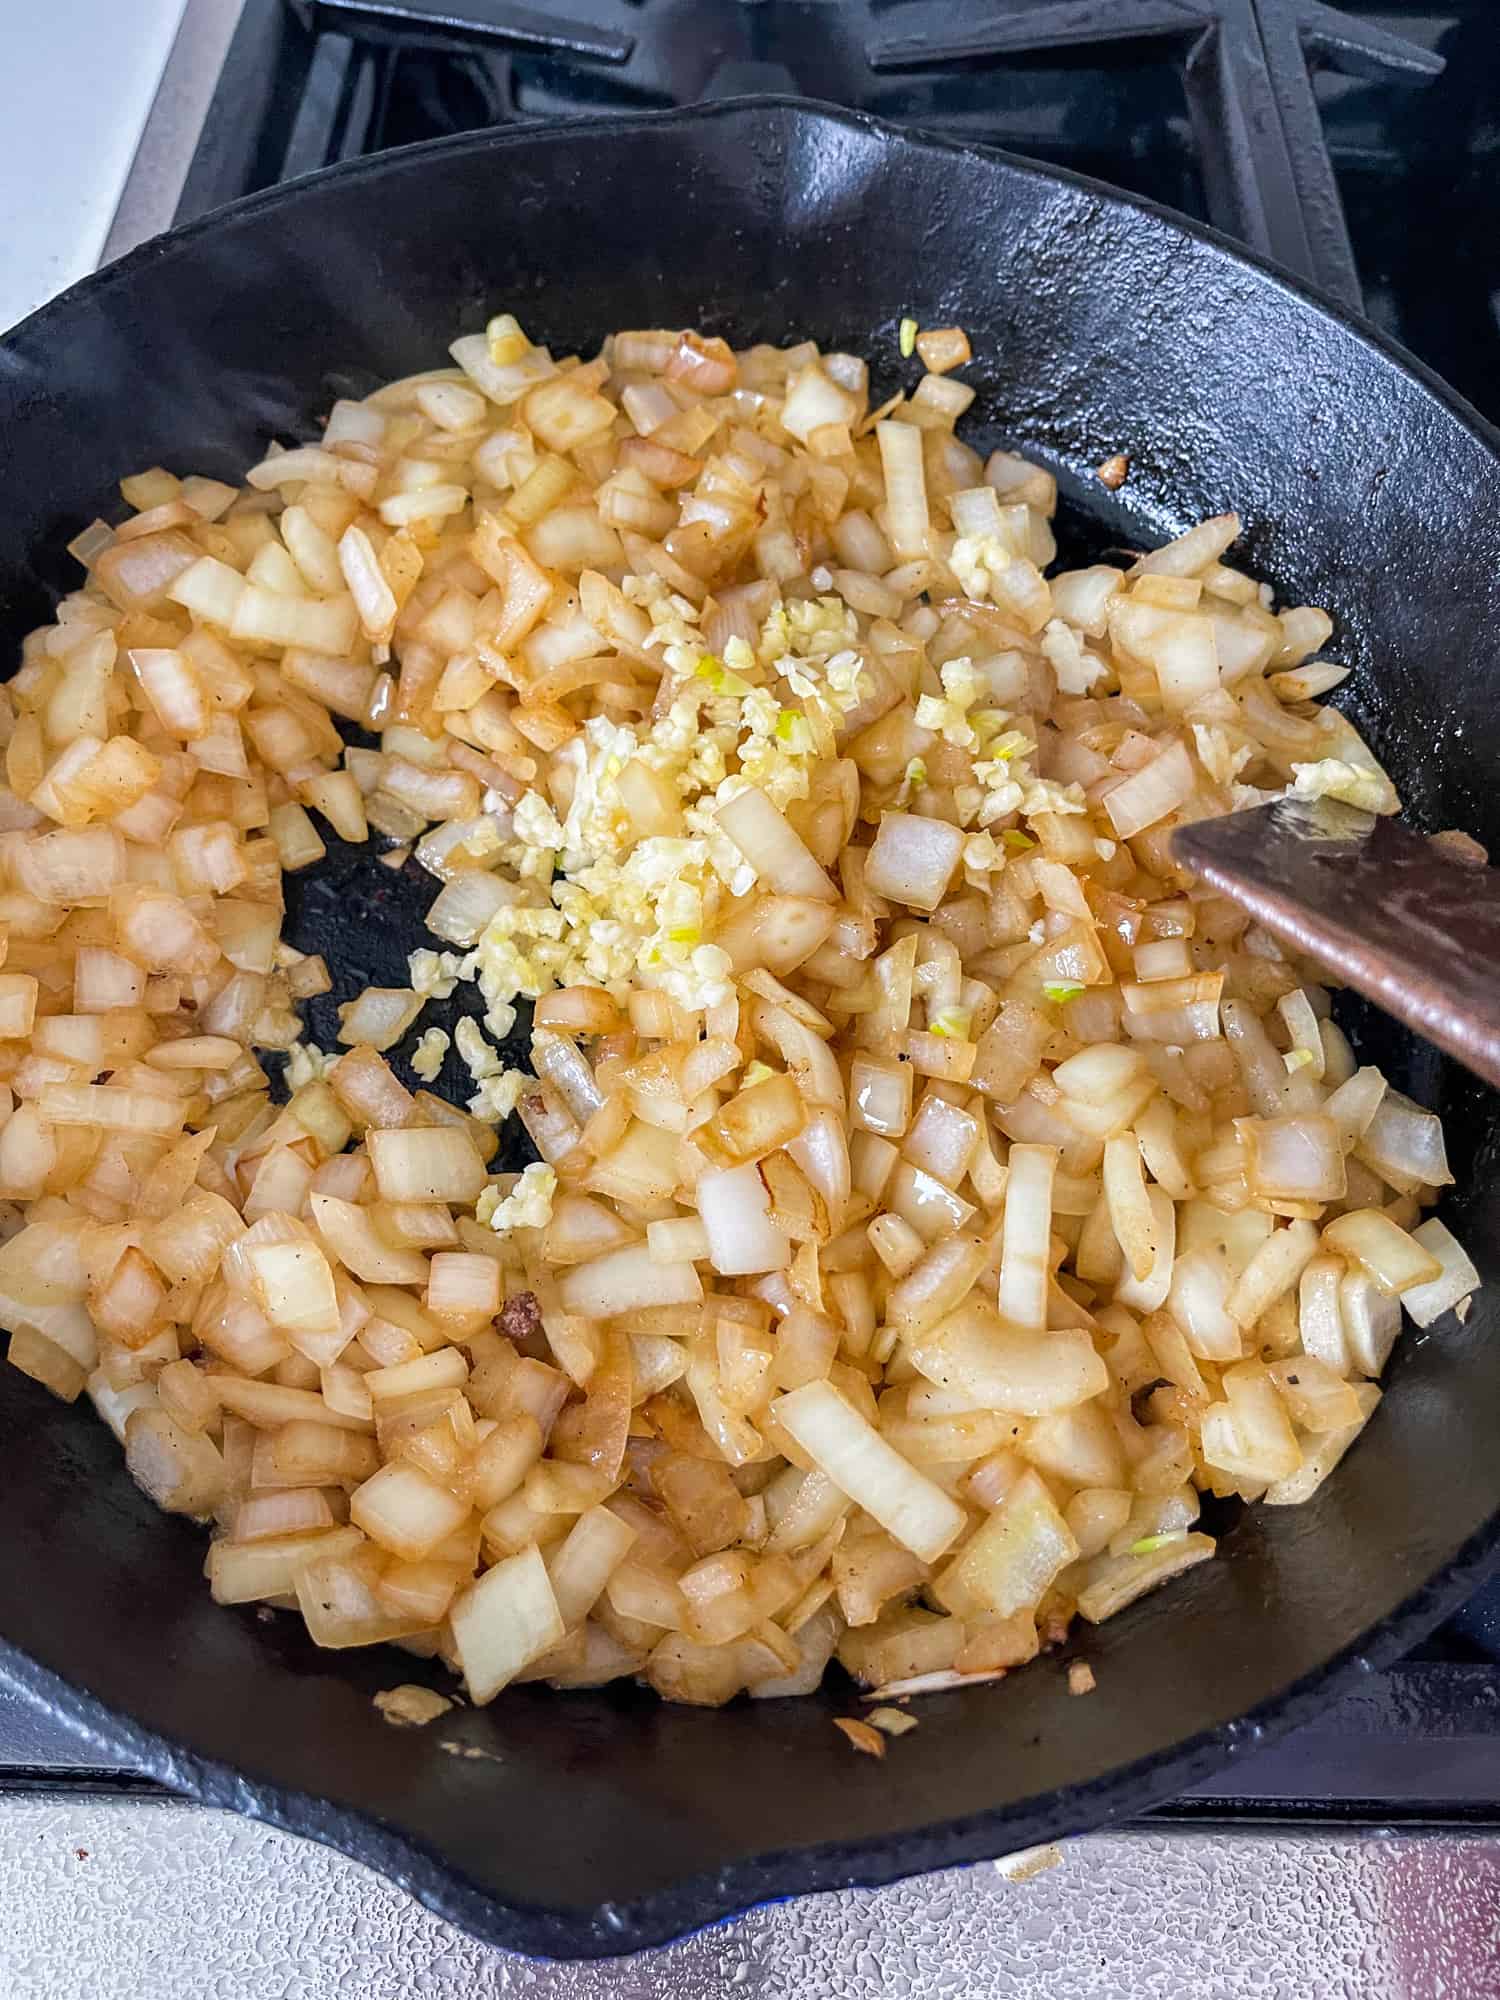
Next, remove all leftover fat from the skillet before adding back in the remaining ghee. Once the ghee has melted, stir in the onions, scraping the bottom and sides of the skillet. Cook the veggies over medium heat for 3 minutes. Now, add the garlic and cook 2 minutes longer, stirring frequently careful not to burn the garlic. Once cooked, add the onions to the pot with the meat.
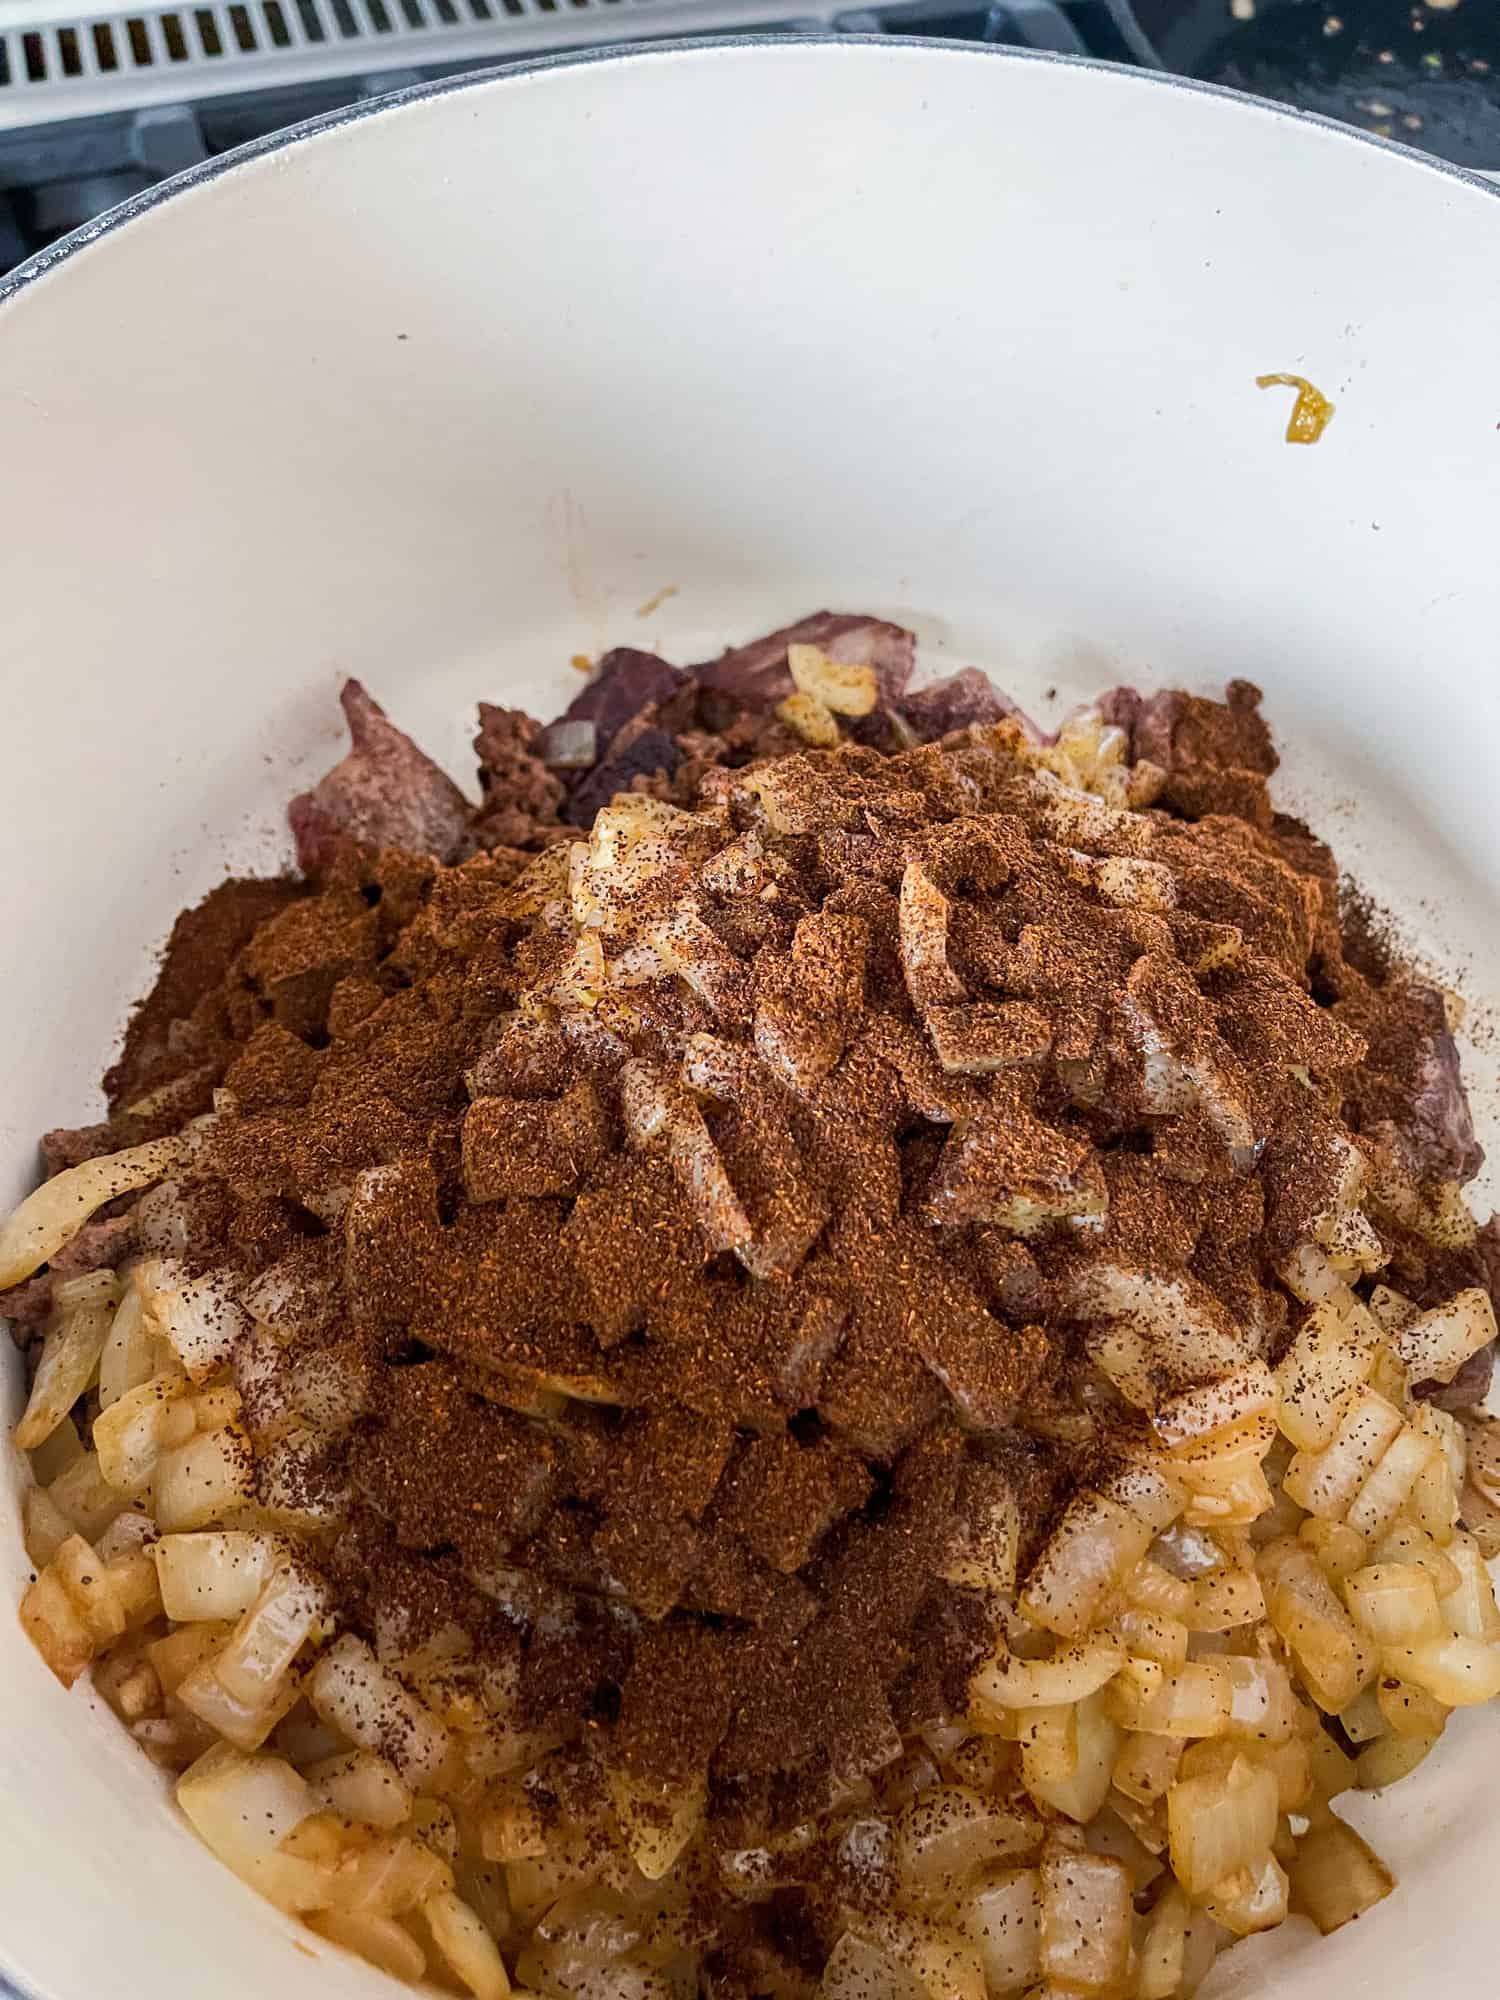
Stir the chili powder into the meat mixture. Once well combined, add all the remaining ingredients, except the beans, to the pan and mix well. Heat ingredients over medium-high heat until the mixture begins to boil. Then, cover the pot, and transfer it to the oven. Bake until the meat pieces are tender. This takes 1.5 to 2 hours depending on your oven and the size of the meat pieces.

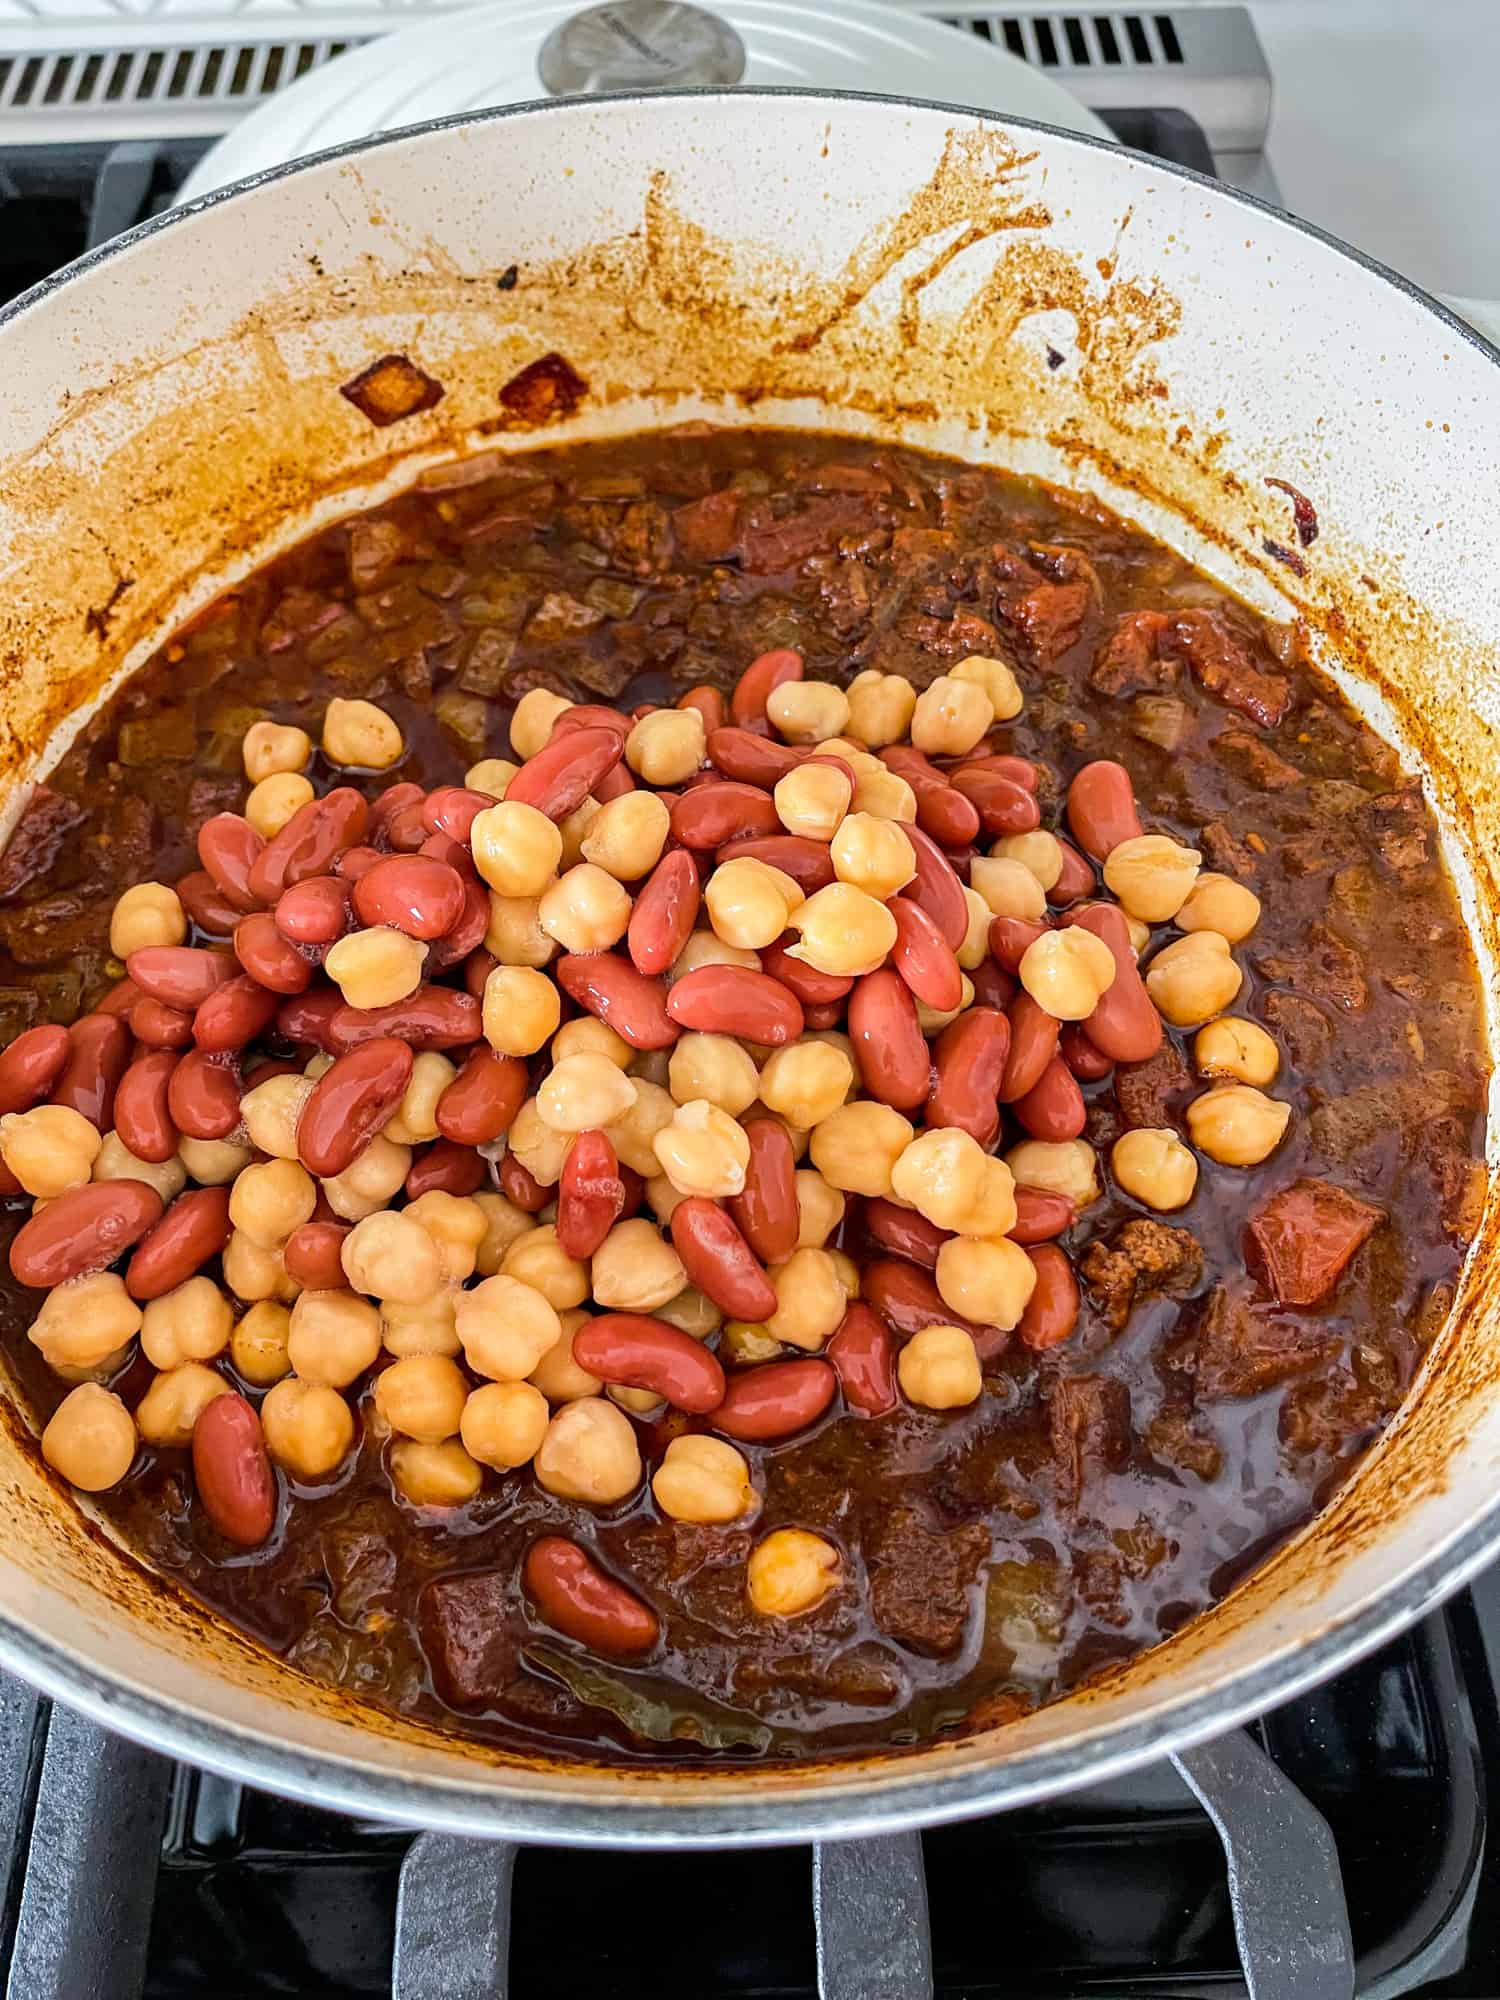
Finally, when the meat is tender, stir in the beans (omit for paleo) and return the pot to the oven. Bake the chili uncovered for 30 minutes. If you like your chili a little soupier or if the chili gets dry, feel free to add more broth as you see fit.
Tips to Make Chili con Carne Suitable for Any Diet:
Personally, I tend to stick to a Whole30 based diet. However, my husband and kids especially don’t follow a strict diet plan. Therefore, I wanted to create a recipe that could be adapted to fit all your meal prep needs! Tried, tested, and true, each version of this recipe is just as delicious as the original so you can meet any of your health or weight loss goals without feeling like you’re missing out!
To make this recipe paleo-friendly simply omit the beans. Or, if your goal is Whole30, replace the beans with even diced butternut squash. Of course, feel free to add, subtract, or modify any ingredients as you see fit! This recipe is a great way to sneak veggies into your kids’ diets.
Frequently Asked Questions:
Can I freeze Chili con Carne?
Yes, Chili con Carne can be frozen. In fact, I recommend doubling the recipe in order to have a batch waiting in the freezer on busy nights when you just don’t have time to cook. When kept in an airtight container, this recipe will stay good in the freezer for up to 3 to 6 months.
u003cbru003eHow do I make chili seasoning?
If you’re in a pinch, chili seasoning can be purchased at nearly any grocery store. However, if you have the time, it’s great to make your own in large batches to keep on hand. I love u003ca href=u0022https://amindfullmom.com/diy-chili-seasoning/u0022 target=u0022_blanku0022 rel=u0022noreferrer noopeneru0022u003ethisu003c/au003e recipe, but there are tons available online.
u003cbru003eHow can I thicken Chili con Carne?
If you find your Chili con Carne is too thin or runny, there are several options to thicken the recipe. First, if you added the beans, use a potato masher to mash some of them. This will create a sort of paste and adds bulk to the meal. Or, you can add chili paste. Carefully add a couple of tablespoons at a time and stir until it is well combined. Repeat this step until the desired thickness is reached. Finally, depending on your dietary needs, you can add a starch such as flour, cornmeal, oats, or even xantham gum to thicken the recipe. Similar to the tomato paste, add in little bits at a time stirring until the desired consistency is achieved.
u003cbru003eWhat is the difference between Chili con Carne and Chili?
While modern recipes often alter the original versions, traditional chili utilizes the actual pepper in a slightly more soup-like recipe. Meanwhile, Chili con Carne is a thicker, more stew-like meal most often made with chili powder and tomatoes instead of the chili itself.
Typically, this recipe tastes even better the next day. So, I recommend making it ahead of time to reheat and enjoy later for the easiest dinner ever! Tell me, what are you serving this recipe with? I’d love to know!
In the meantime, enjoy!
Ingredients
- 6 tablespoon ghee
- 1 tablespoon olive oil
- 1 1/2 pounds beef chuck steak, cut into 2 1/2 inch pieces
- 1 1/2 pounds lean ground beef
- 2 yellow onions, large, diced
- 4 cloves garlic, minced
- 1/4 cup chili powder
- 2 tomatoes, large, seeded and chopped
- 14 ounces canned crushed tomatoes
- 12 ounces canned green chilies
- 1 teaspoon coconut sugar
- 1 bay leaf
- 1 pinch dried thyme
- 1 teaspoon cayenne pepper
- 1 tablespoon coconut aminos
- 1 1/4 cup beef stock
- 1 teaspoon salt
- 1/2 teaspoon pepper
- 2 cans beans (red, kidney, and/or chickpeas, rinsed and drained (omit beans to make paleo)
Instructions
- Preheat the oven to 300 degrees F Pat dry thebeef pieces with a paper towel, sprinkle a pinch of salt over top, and setaside
- Heat large heavy bottom skillet over medium-highheat, add half the ghee and olive oil, and add sauté the beef pieces in batchesuntil well browned (about 1-2 minutes per side). Transfer to a large Dutch oven
- Add the ground beef to the skillet. Cool over medium-highheat, breaking into lumps, until slightly browned. Transfer to the pot with thebeef pieces
- Remove all fat from the skillet. Add theremaining ghee and stir in the onions, scraping the bottom and sides of theskillet. Cook over medium heat for 3 minutes. Add the garlic and cook 2 minuteslonger. Transfer to the pot with the meat.
- Stir the chili powder into the meat mixture. Addall the remaining ingredients, except the beans and mix well. Heat to boiling,cover and transfer to the oven. Bake until the meat pieces are tender 1 1/2 to2 hours.
- When the meat is tender, stir in the beans (omitfor paleo) and return to the oven. Bake uncovered for 30 minutes (add more beefbroth if the chili gets dry).